How To: Slab Built Mugs
There are many many ways to handbuild pottery. Here, we’ll show you how we construct a mug from a slab. If you’ve never prepared a slab before, you can find that tutorial here. Keep in mind the steps below can be used as a guide for many shapes, not just mugs!

Once you’ve prepared your slab, you’ll want to let it dry enough that it holds it’s shape but is still malleable. Depending on the dryness of your clay to begin and the thickness of your slab once your finished, the timing can vary. You’ll want to be attentive to your slab and make sure you’re checking in on it every few hours. We started with clay on the drier side and left it uncovered, so our slab was ready within three hours.
We used a template to cut out the walls of our mug but you can also freehand the shape! If you’re looking for templates, this site has tons. Before cutting out your shape, you might want to add some texture or design to your slab. Imprinting with leaves, flowers, lace, fabric or other elements is a great way to add interest to your piece. You can lay them on top of the slab and use a rolling pin to gently push your texture in to the clay.
Now, use your fettling knife to trace the template and cut out your shape. Remove the excess and set your slab aside. If your slab is big enough chances are you can cut a few cups or forms from one slab of clay. But don’t forget to save some clay for your base and your handle!


Now that you have all of your pieces cut out, you’re ready to start assembling. First, you need to bevel the edges so your seems are nice and snug. Cut the short sides of your slab at a 45 degree angle with your fettling knife. After you cut one side, flip the slab over, so the uncut side is now in the same place as the side you just beveled. Cut this side at the same 45 degree angle. When you curve the slab so the edges meet, the edges should fit together at the same angle.

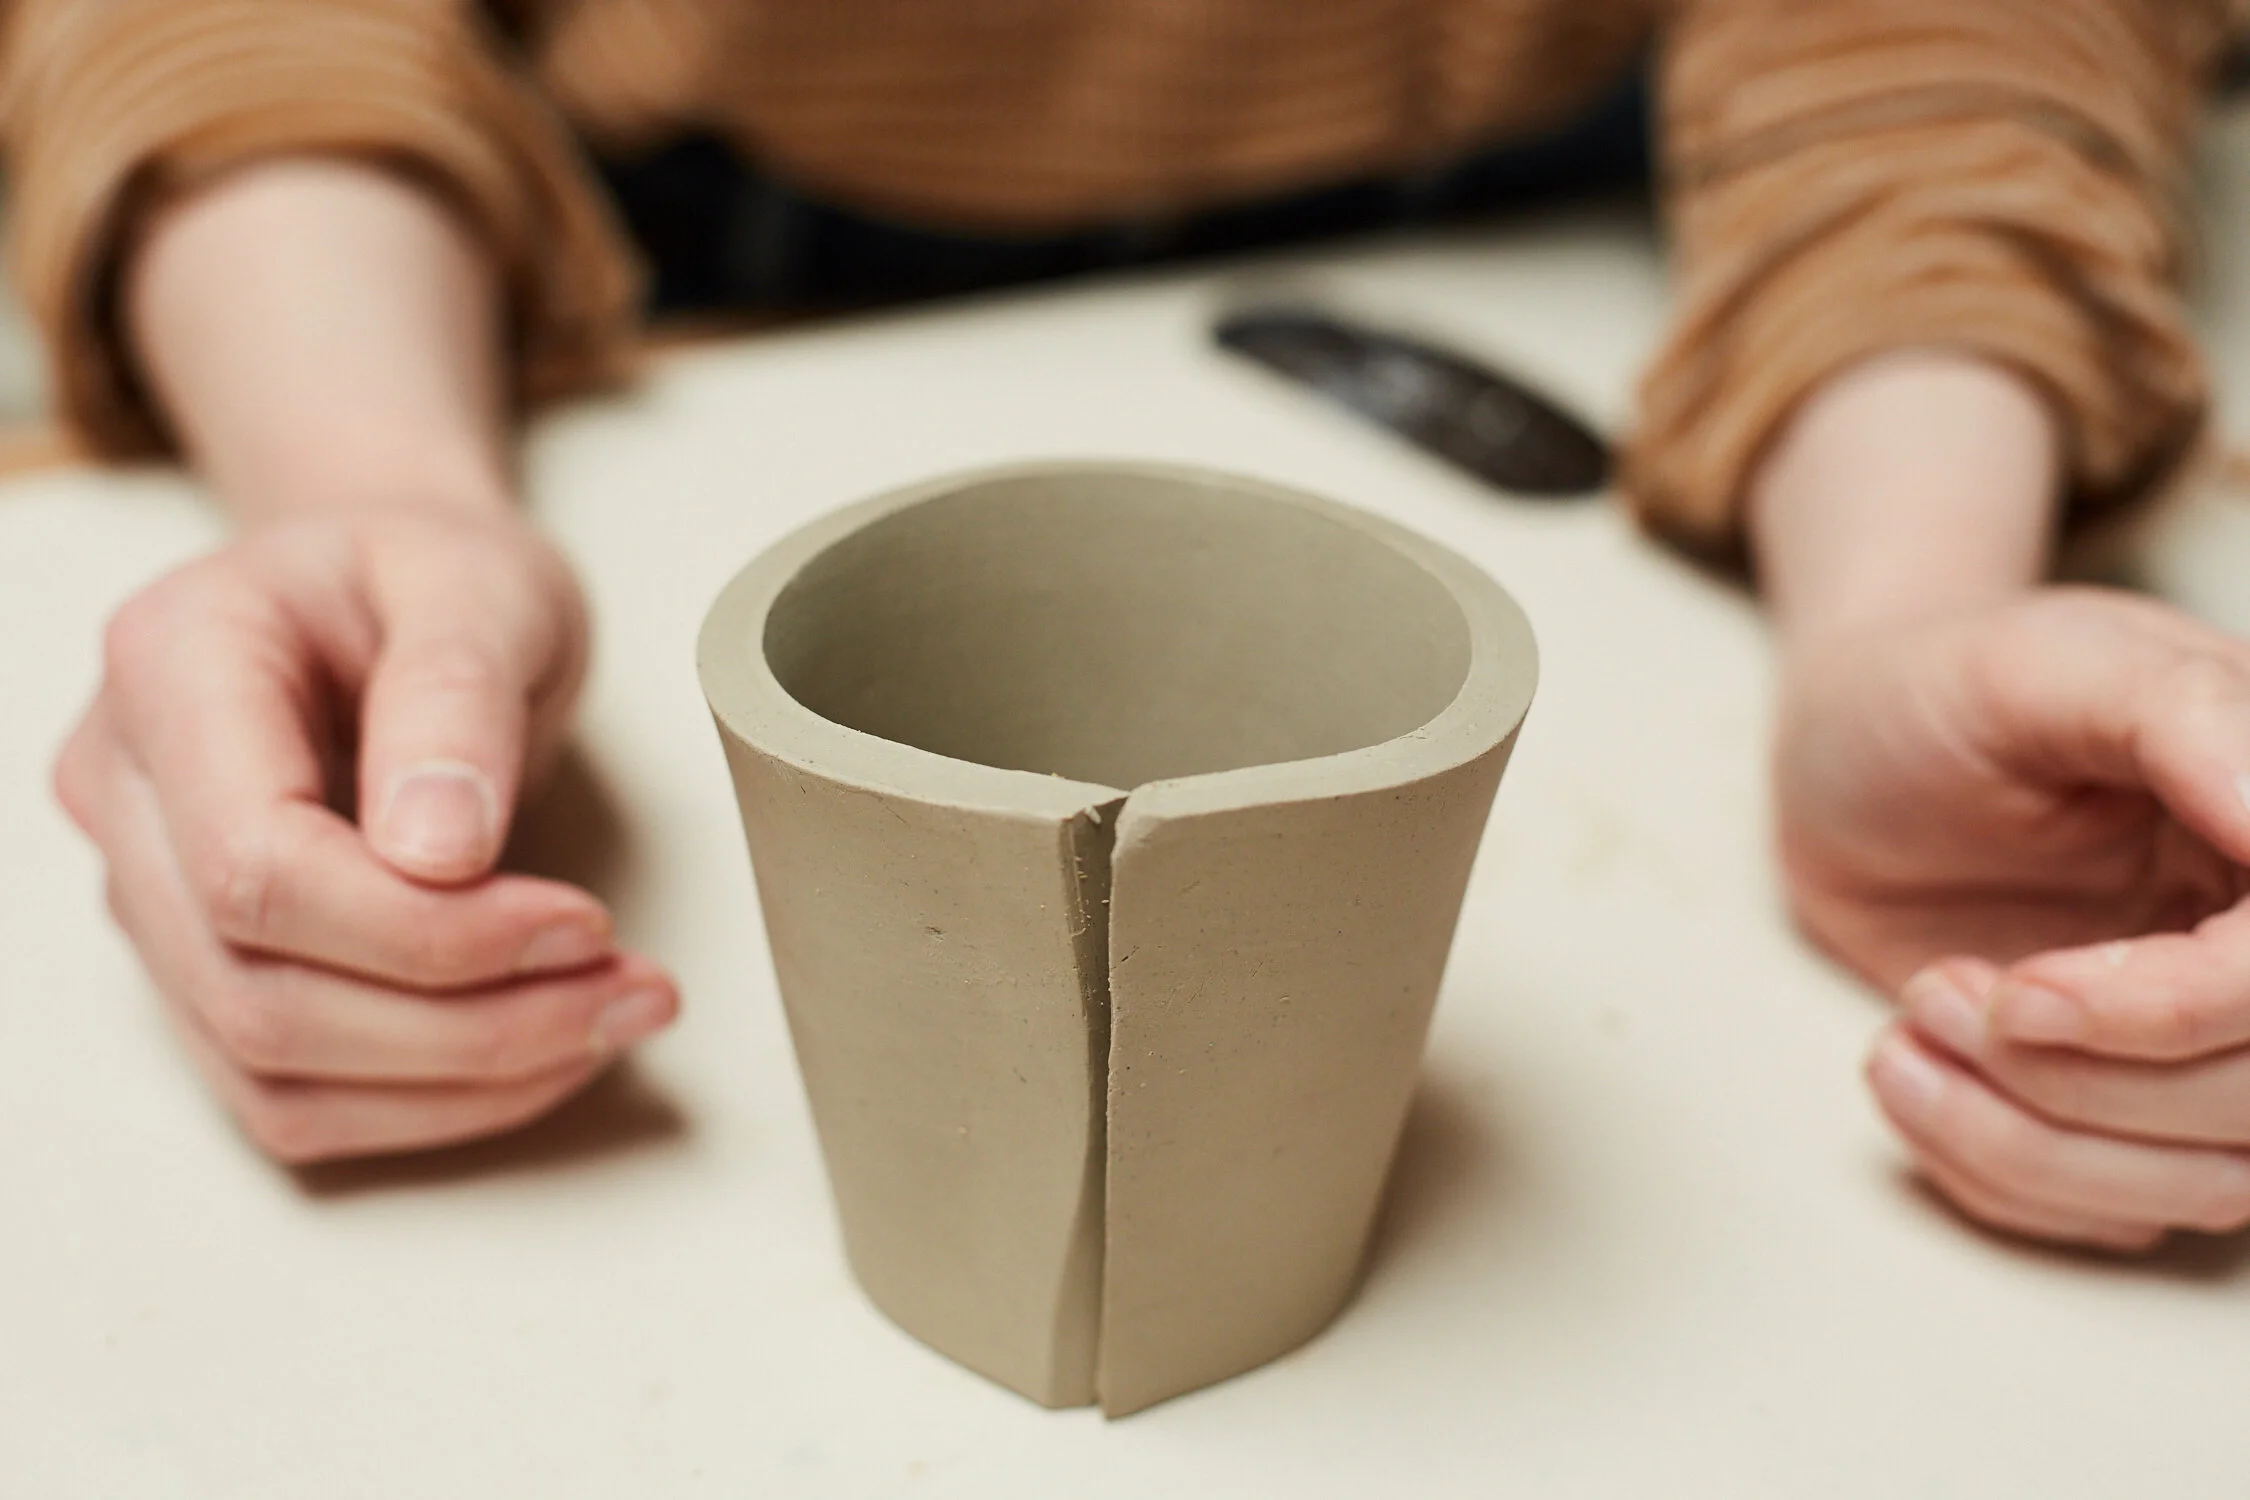
Once you’ve beveled the edges, you’re ready to shape your mug and seal the seem together. You’ll want to score and slip along both sides of the seam. We like to use our needle tool to score, then dab some slip on to both sides. Use your hands to firmly press the edges together from top to bottom. You can use more pressure than you think!
Once you’ve gotten a good seal, wipe away any excess slip that oozed out and smooth the seam with your wooden knife tool or a dry paintbrush. You want to make the attachment area as invisible as possible for a seamless look. Work in the direction of the clay. If the outside edge folds over the inside, smooth the clay so it is spreads over the inner edge working more clay over the seam.


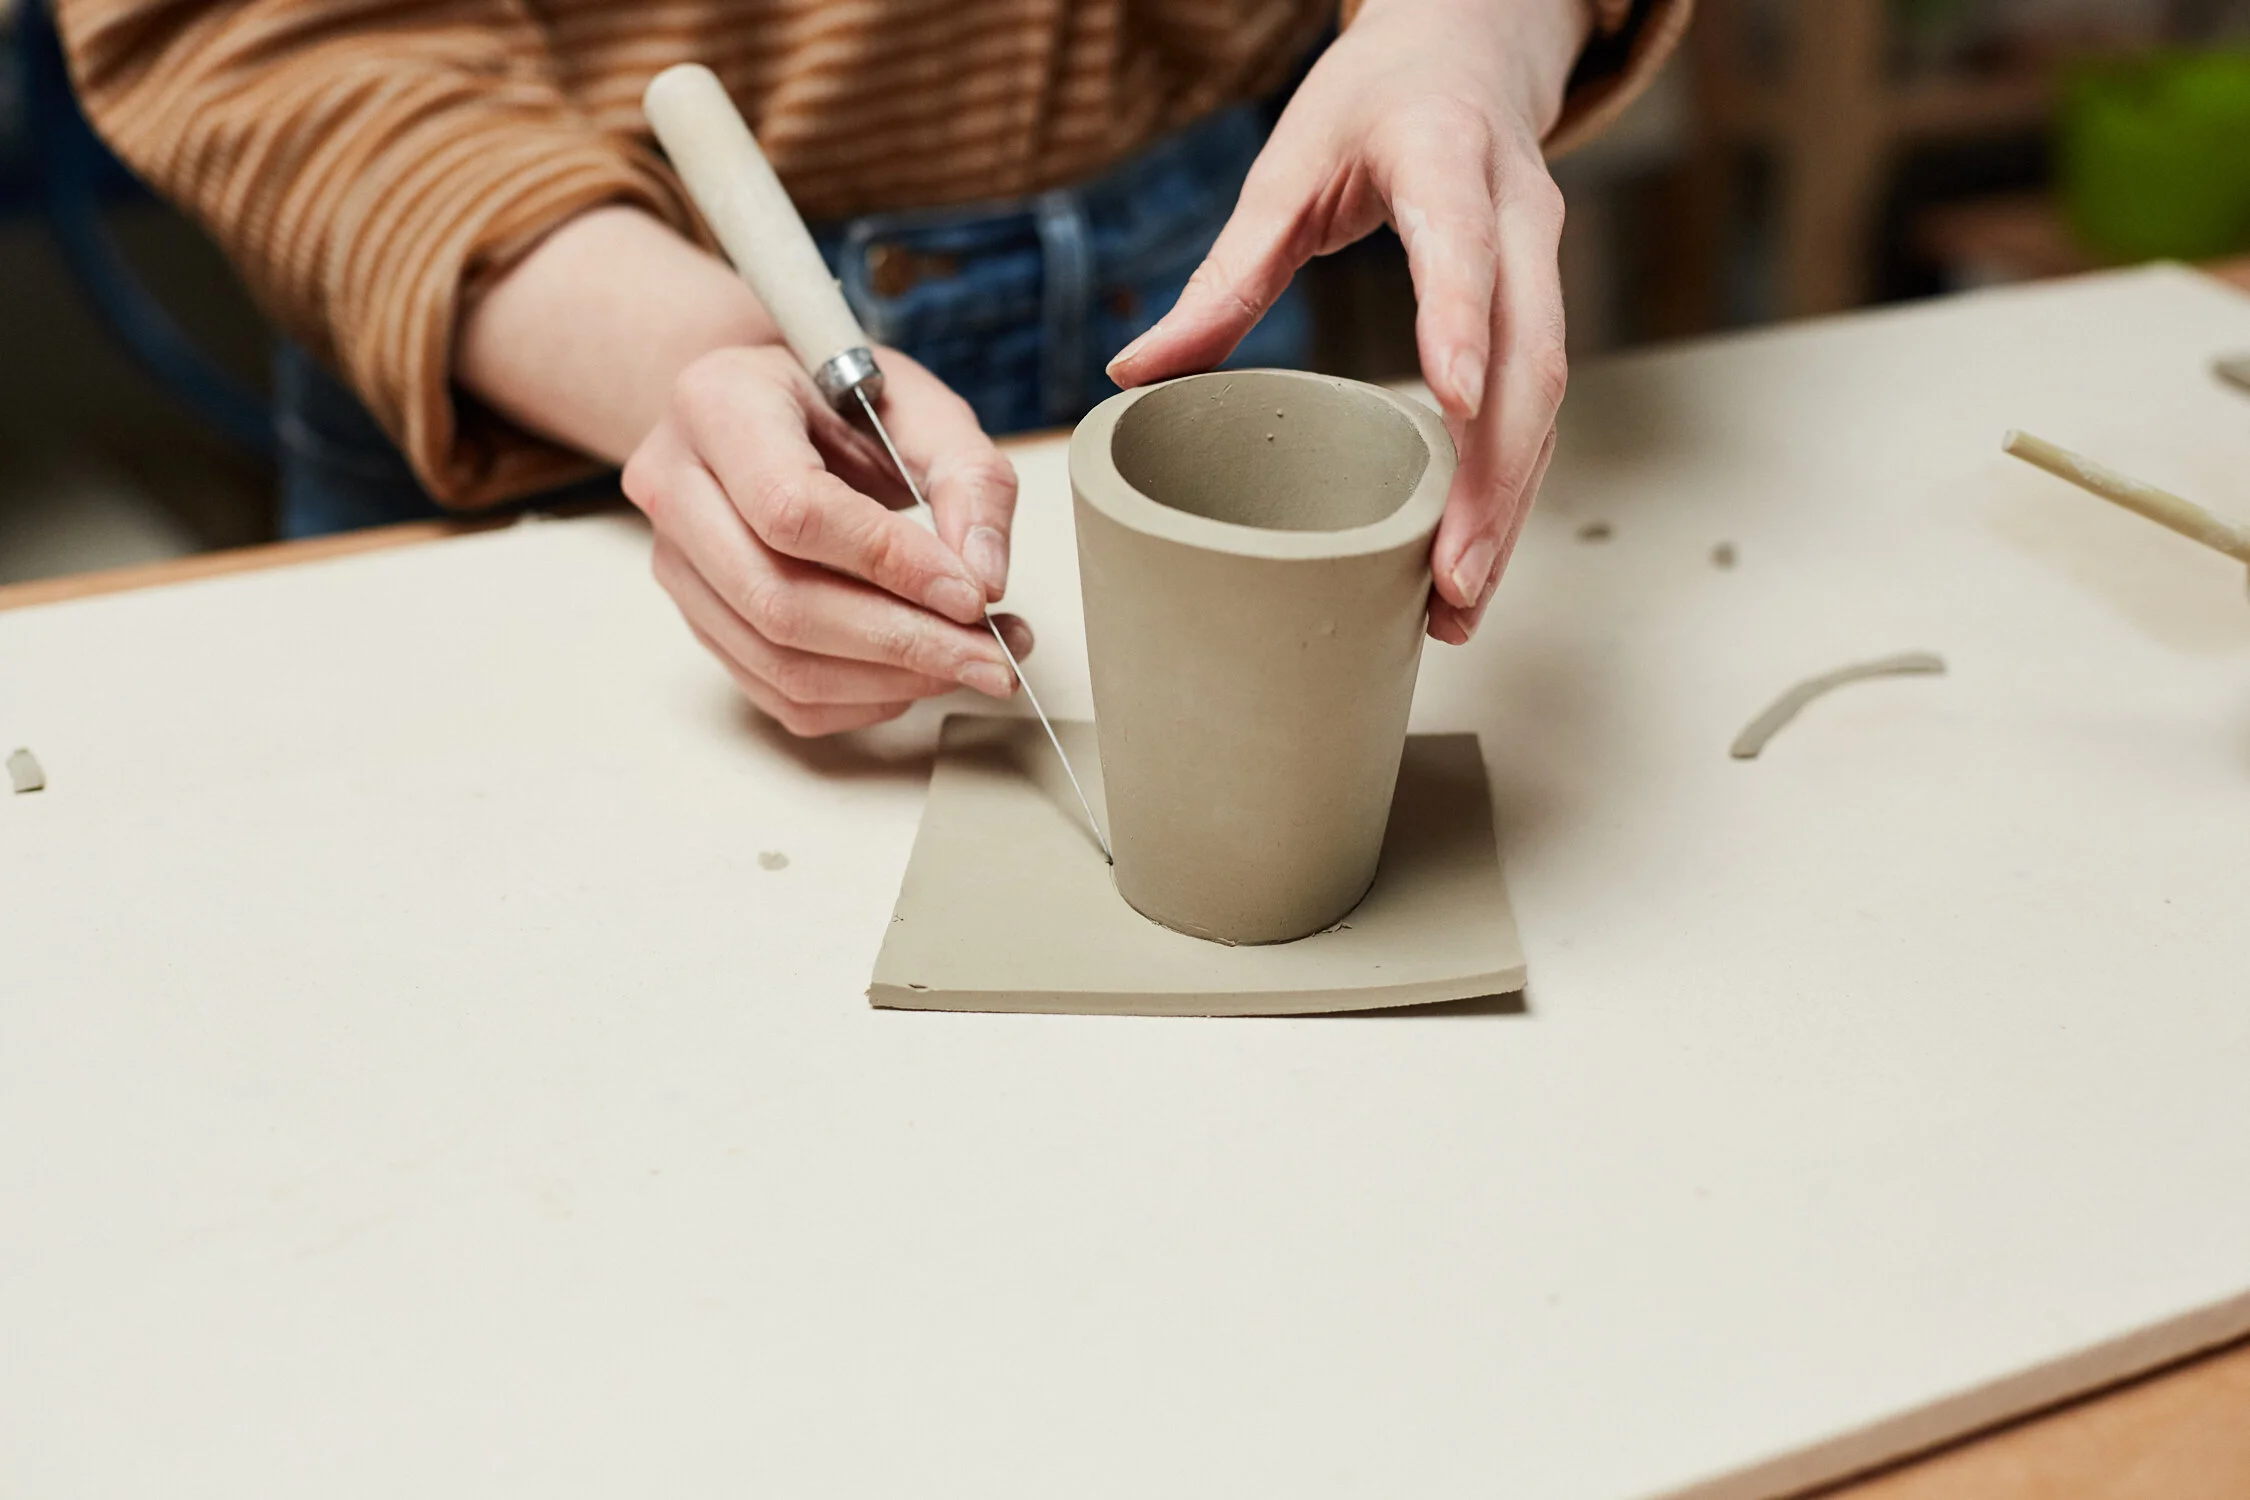
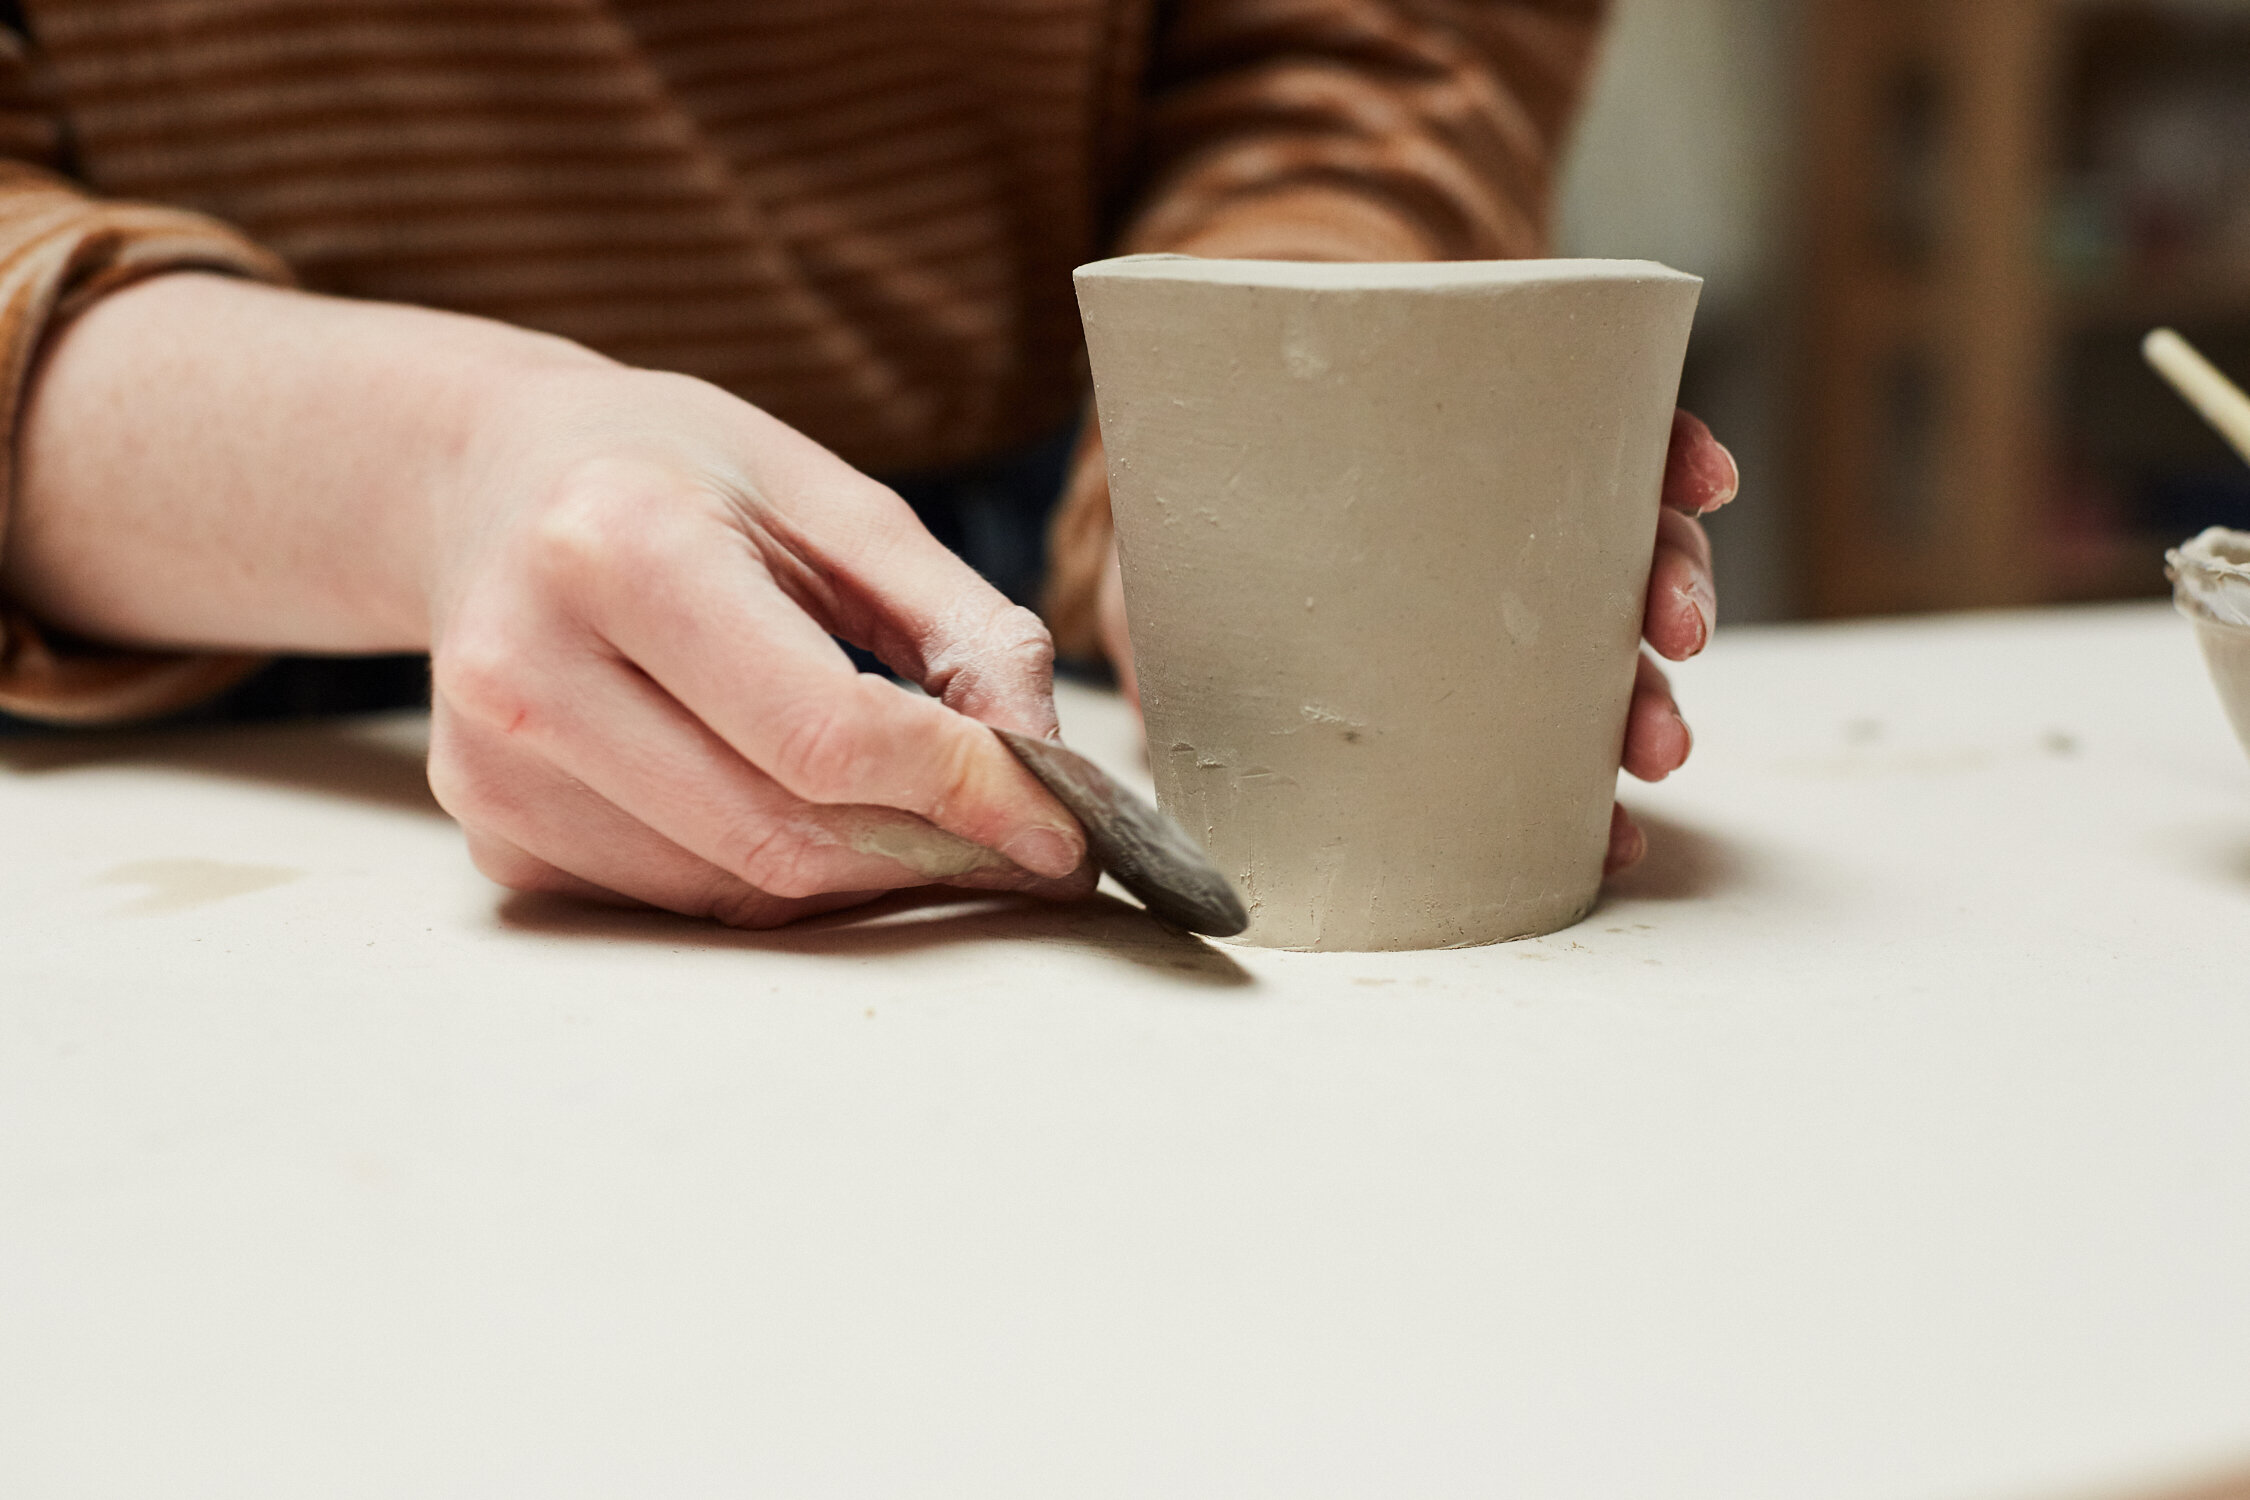
Follow the same steps for the base of your cup. Trace the bottom, cut it out, slip and score, then attach. Once you’re ready to clean up the seem, smooth in an upward motion to move clay up the walls. This will help cover up the seem.

Now is a great time to add texture to your cup. We used our trim tool to carve away but the options are infinite. You can imprint with shells, draw with a carving tool or your wooden knife, add texture with your needle tool … anything will do!
If your slab is thick, you can even carve away on the inside. If it’s on the thinner side, be mindful of how deep you carve and be careful not to carve all the way through!
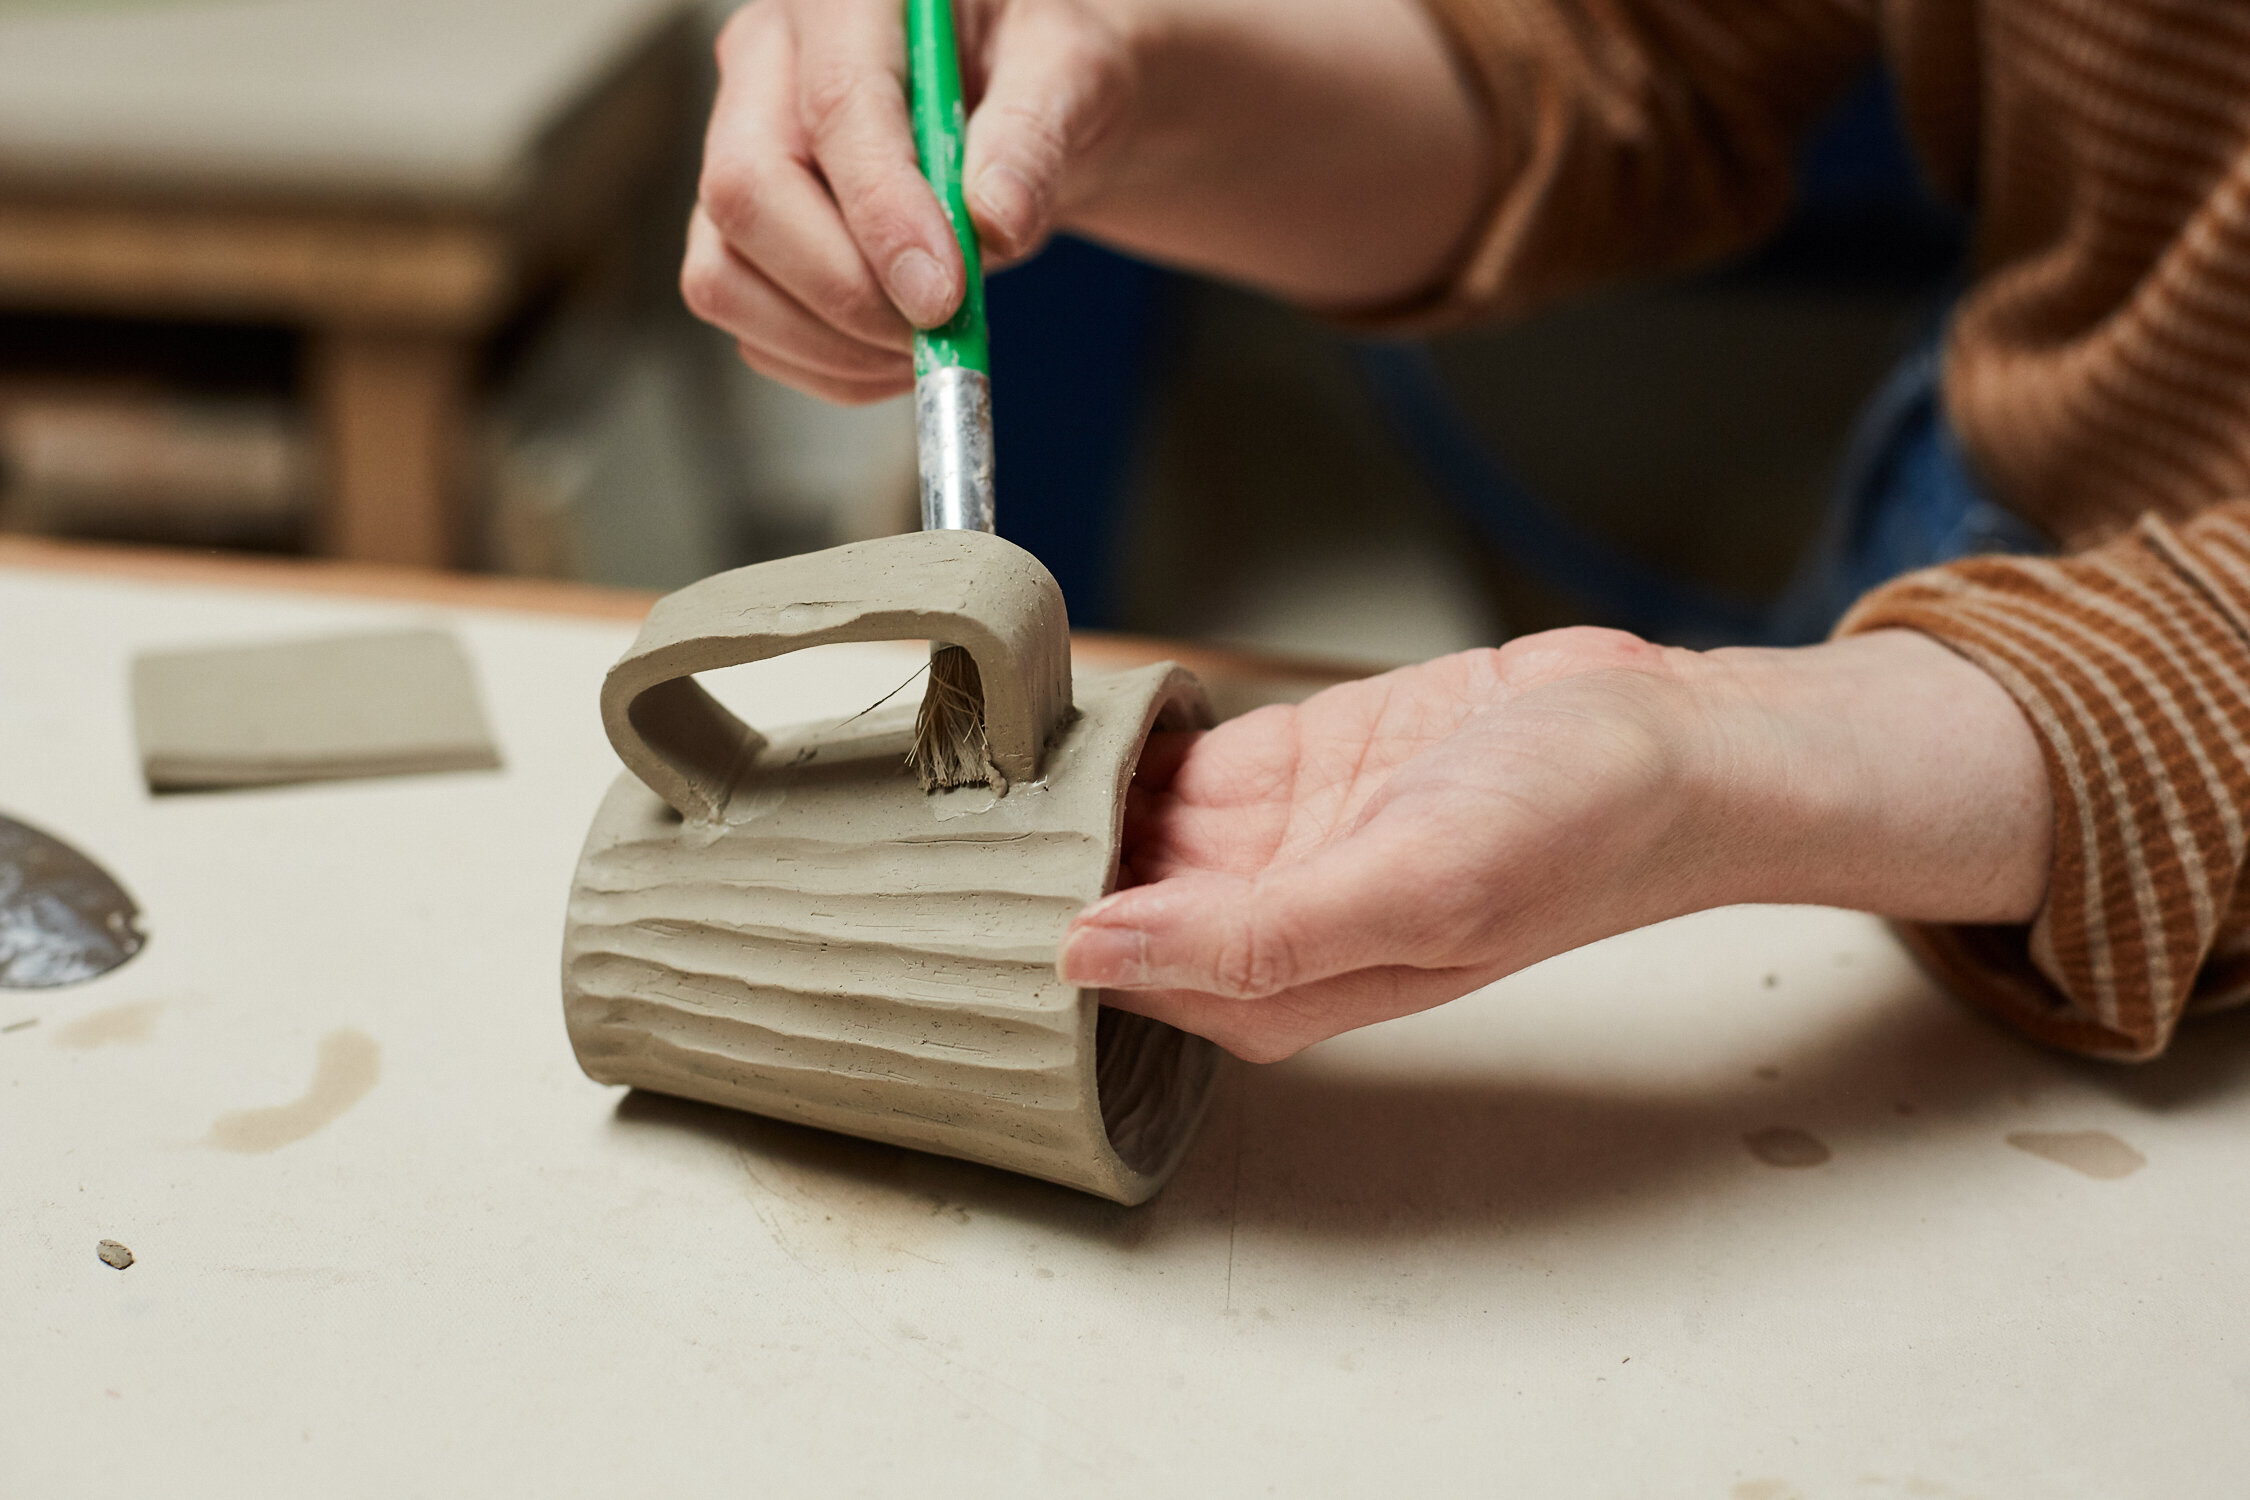
Now you’re ready to attach a handle. First, make sure you have the right fit. Once we decided on a shape, we cut the edges down so the handle felt good in our hands and complimented the shape of the cup. For an extra snug fit, curve the edges of the handle to match the curve of the cup. Once you’re ready to attach, slip and score both the handle and the cup. Place one hand inside the cup and use the other hand to firmly press the handle onto the outside. Don’t be afraid to use a good amount of pressure to ensure a snug fit. Use a dry paintbrush to clean up any excess slip and compress the edges of the handle on to the cup. You can use your finger to smooth out any rough spots. Always remember… compression is key to a good attachment!


Once your handle is attached you’re all set! You can continue to carve designs or add texture, apply underglaze, add embellishments with clay… the world is your oyster.
The very last step is signing your piece and placing it under some plastic for a nice slow drying process. It’s important to let your work dry slowly so the attachments have time to take! We like to cover our pieces tightly for at least the first 24 hours after making them. The slower they dry, the better your chances are of crack free pottery.
Happy Handbuilding!
